Uploading the Image Header
The newsletter header can also be an image taken from your business website like your logo.
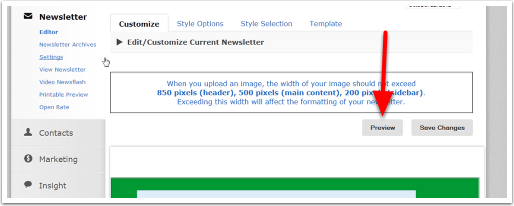
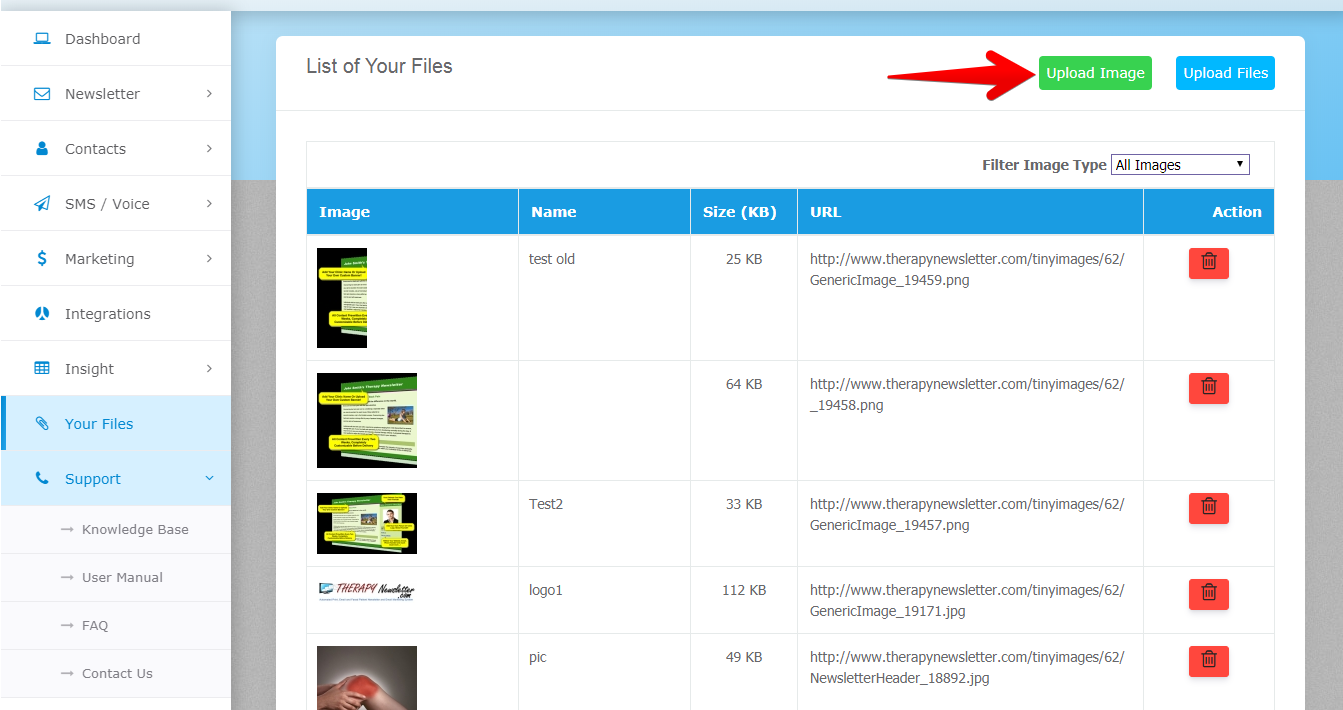
The header is uploaded as an image using the "Your Files" option from the newsletter main screen. Take note of the recommended pixel sizes that will appear at the top of the newsletter editor page.
In the "Your Files" section, click on Upload Image.
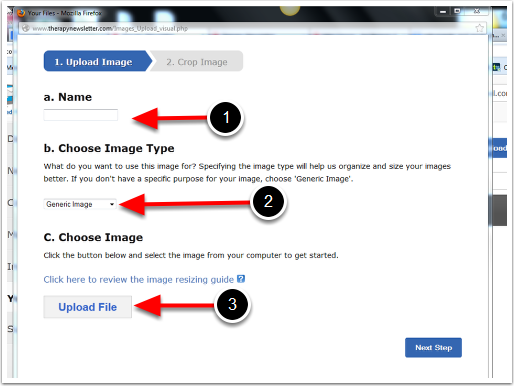
A pop-up box will appear, it will allow you to:
- Add a name for the header image
- Choose the image type - Newsletter Header
- Choose the header image - click on Upload File and search for the file on your computer to upload.
NOTE: Make sure that the image size should be 150 KB or less. Check the sizing guide on ways to resize your image.
A message "Successfully Uploaded Image" will appear once the file is successfully uploaded.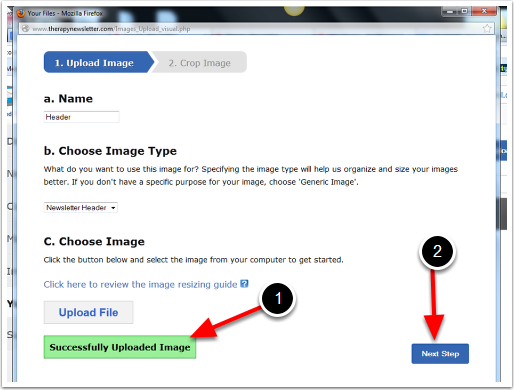
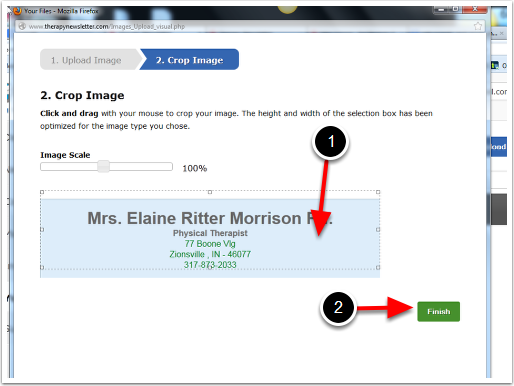
Click on "Next Step" to crop the image.
To check the appearance of the image, drag the box to align it properly
Click on "Finish" once done.
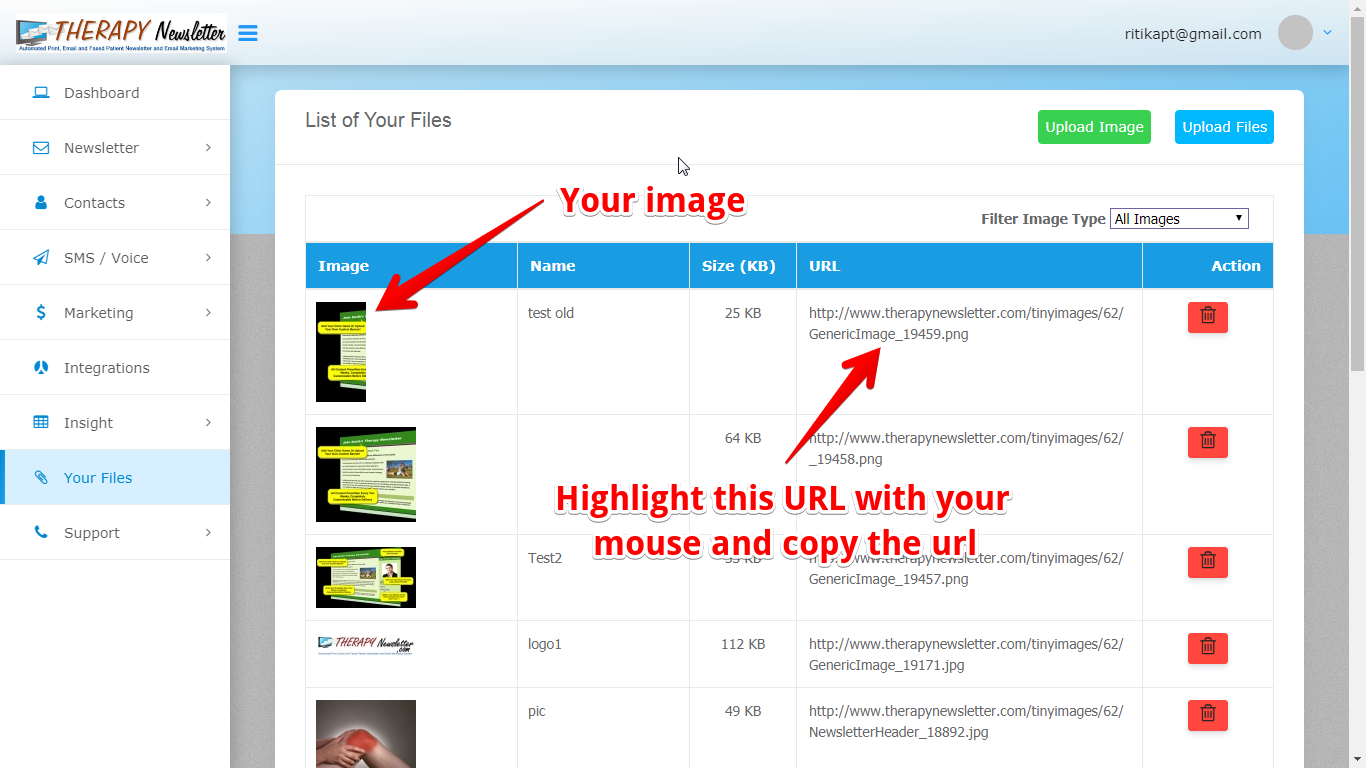
The image will now appear under "Your Files"
Copy the URL link for the image as it appears in the third column.
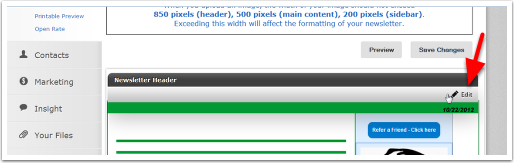
Click on Newsletter to go back to the newsletter header section and click on the pencil icon.
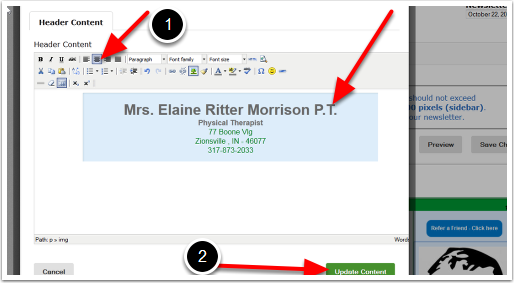
Your Header Content Editor Box
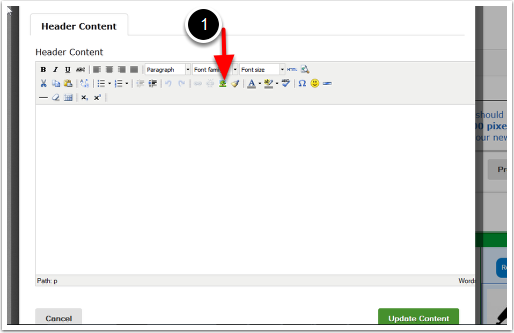
The header content editor box will pop up.
Click on the tree icon on the toolbar.
Your Image Icon Pop-Up Box
The Insert/Edit image box will pop up.
Go to the General tab and paste the image URL link from the "Your Files" section in the Image URL box.
Adding an image description and title is optional.
Click on "INSERT" to add the header image.
![]()
Your picture/header now appears in the box
Click on the Align Center icon to properly align the header.
Click on "Update Content" to save changes.
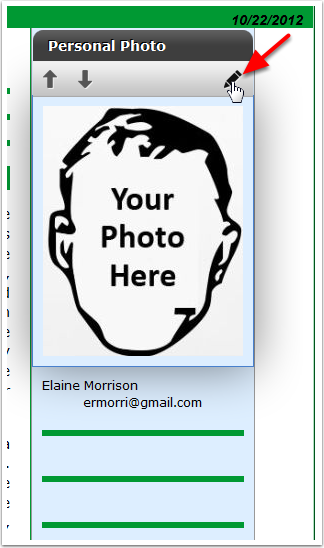
To Upload Your Personal Photo
The Personal Photo section on the right side allows you to customize the newsletter better by adding a personal photo or a photo of the clinic.
This can be done by clicking on the pencil icon.
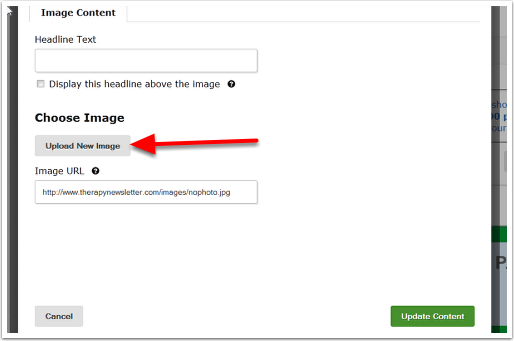
Uploading Your Image
Another pop-up box should appear.
Click on "Upload New Image", click on "Upload File" and search for the personal photo to be added.
Take note of the size limitation of under 150kb and up to 200 pixels wide.
Photo uploaded in this section will be automatically adjusted to 200 pixels (see below).
Click on "Update Content" to save changes.
You will see a Green Successfully Uploaded Image bar appear
Once the message "Successfully Uploaded Image" appears, click on "Next Step".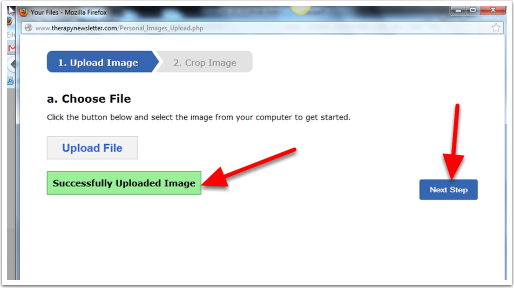
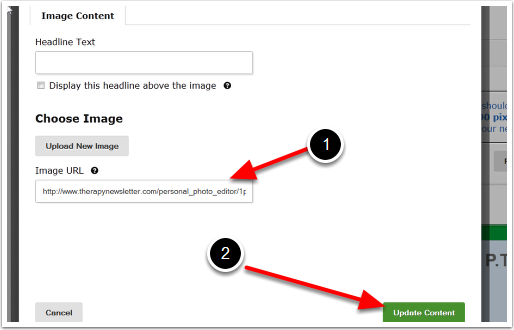
Another way of adding a Personal Photo
The personal photo can also be added from a website by adding the URL link of the personal photo in the Image URL box.
Click on "Update Content" once the URL link is added.
Your Personal Photo updated!
The personal photo should now appear in the newsletter editor section.
In case it does not appear on the browser, hitting the Refresh or Reload button might be required.
Preview the Newsletter
The newsletter can be previewed after every change made and before it gets sent out.
Scroll up to the top of the newsletter editor section. Click on "PREVIEW".
A new browser will come up allowing you to preview the actual look of the current newsletter.